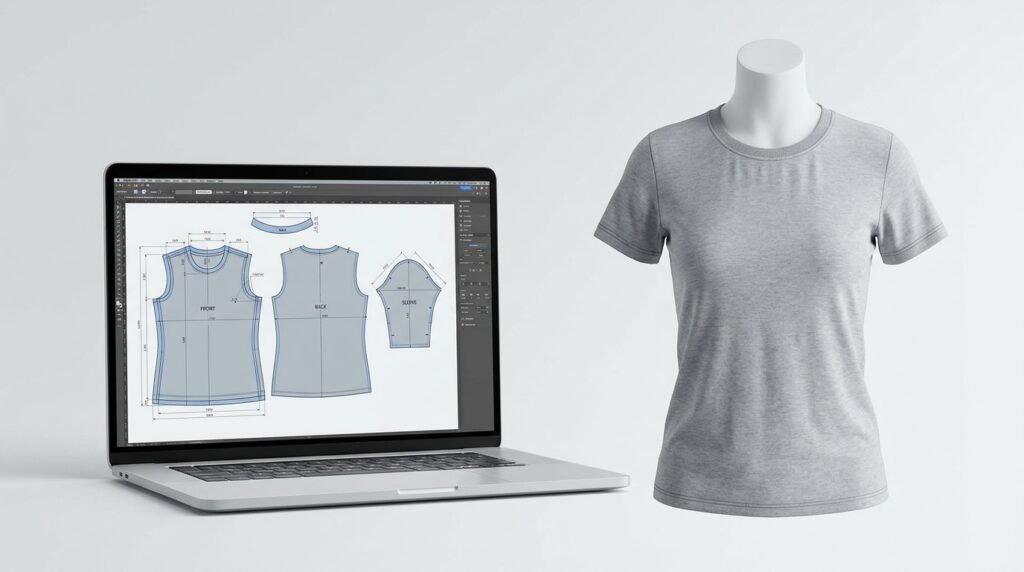
The right neckline can change the appearance, comfort, and fit of a handmade T-shirt. Crew necks, V-necks, scoop necks, and boat necks each offer a different look. Your choice should match your preferred style, fabric, and body measurements. A suitable neckline also helps the finished shirt sit properly around the neck and shoulders.
Making your own clothing gives you more control over small design details. A Custom T-Shirt Sewing Pattern allows you to select a neckline, adjust its shape, and decide how much coverage you want. Instead of following a standard design, you can make changes that suit your needs. Understanding the available options before cutting fabric can also help prevent common sewing mistakes.
Why Does the Neckline Matter in a Handmade T-Shirt?
The neckline shapes the look of a T-shirt and affects how it feels around the neck and shoulders. A close crew neck gives a familiar, covered look, while a V-neck opens the front and creates a longer line. The right choice should suit the wearer, the outfit, and the amount of coverage they find comfortable. It is also one of the first details people notice.
It also affects how the garment hangs. A neckline that is too tight may pull at the shoulders, while one that is too wide can slip or gape. A Women’s Custom T-Shirt Pattern can help you compare different shapes before cutting fabric. Think about daily use as well as appearance, since comfort matters after the first wear. Check the fit while standing and moving.
What Are the Main T-Shirt Neckline Styles?
Crew, V-neck, scoop, and boat necks are common choices for handmade T-shirts. A crew neck has a rounded opening close to the base of the neck. A V-neck forms a point at the front, while a scoop neck has a deeper curve. A boat neck sits wider across the upper chest and comes closer to the shoulders. These basic options suit many casual designs and wardrobes.
Each shape creates a different effect, so choose one that fits the style you want to sew. A Knit T-Shirt Sewing Pattern may include a neckband for a crew neck or a different finish for a wider opening. Check the pattern pieces before cutting, as the front and back curves are not always the same. This check helps you choose the right sewing method at the planning stage.
How Do Crew Necks and V-Necks Differ?
A crew neck offers more coverage and works well for simple everyday tops. Its rounded edge is often finished with a band made from rib knit or matching jersey. A V-neck feels more open and can look neat under a jacket or cardigan. The depth of the V can be changed to suit personal taste. Both styles can have a fitted or relaxed shape.
A shallow V is often easier to wear than a deep one, especially if you want the shirt to stay in place while moving. A Made-to-Measure Tee Pattern can help set the front depth and shoulder fit together. Mark the point clearly on the paper pattern, then check that both sides meet evenly before sewing. Avoid making the point too sharp or uneven.
How Can You Match a Neckline to Your Shape and Style?
Choose a neckline by looking at the whole garment rather than following a fixed body-shape rule. A crew neck gives a compact frame, a V-neck draws the eye down, and a scoop neck creates a soft curved opening. A boat neck places more visual width across the shoulder line. Personal comfort should guide the final choice. There is no single shape that suits everyone.
Try holding paper neckline shapes against a mirror or comparing them with a shirt you already enjoy wearing. A Custom Fit T-Shirt Pattern lets you adjust the width, depth, and curve instead of accepting a standard shape. Make small changes first, since a few centimetres can alter how the shirt sits. Keep the sleeve and body shape in mind too.
Which Fabric Works Best for Each Neckline?
Stretch knit fabrics are commonly used for T-shirts because they move with the body. Cotton jersey suits many basic styles, while rib knit can work well for neckbands because it stretches and returns to shape. Choose fabric with enough recovery for the neckline, especially if the opening must pass over the head. The fabric weight also affects how the finished shirt hangs.
Check the pattern guidance and test a fabric offcut before sewing the full garment. A Digital T-Shirt Sewing Pattern may state the fabric type and stretch needed for its design. If the fabric has little recovery, a neckband may become loose after wear. A very firm fabric can also make a close opening feel restrictive. Wash a sample first if the material may shrink.
How Do You Measure and Adjust a Neckline?
Start with the pattern’s front and back neckline, shoulder width, and seam allowance. Compare the measurements with a well-fitting T-shirt, but do not assume ready-to-wear sizes match sewing pattern sizes. If you want a wider or deeper opening, draw the new curve on the paper pattern and keep both sides balanced. Record the original measurements before making edits.
Use these steps before cutting your main fabric:
-
Trace the original pattern onto separate paper.
-
Mark the planned neckline changes.
-
Measure the front and back curves.
-
Check that both shoulder sides remain balanced.
-
Add the correct seam allowance.
-
Test major changes with spare fabric.
A Custom T-Shirt Sewing Pattern gives you room to record these personal changes. This makes it easier to repeat a suitable design later.
How Should You Sew and Finish the Neckline?
Most knit T-shirt necklines use a band, facing, or narrow turned edge. A band is common on crew necks because it gives the opening a neat finish and helps it sit flat. Wider or more open shapes may suit a facing or another finish shown in the sewing instructions. Match the method to the fabric and design. A Custom T-Shirt Sewing Pattern may show the best finish for its fabric.
Measure the neckline and prepare the band according to the pattern directions. The band should not be guessed by eye, because its length affects how the edge lies. Pin it in quarters, match the shoulder seams, and sew without stretching the shirt body. Press gently after stitching so the seam settles without losing its shape. Use clips or pins that will not snag delicate knits.
What Mistakes Can Affect the Finished Neckline?
Common problems include cutting the opening too wide, making a neckband too long, and stretching the fabric while sewing. These errors can cause gaps, waves, or puckering. Another mistake is using a fabric with too little stretch for a pattern made for jersey. Read the instructions and check the material before cutting. Poor pressing can also leave the edge looking uneven.
Do not assume every knit behaves in the same way. Test the stitch on a scrap and stretch the sample gently to see whether the seam recovers. If the neckline ripples, check the band length and sewing tension before unpicking the whole shirt. Small tests can prevent wasted fabric and avoidable repairs. Change one thing at a time to find the cause.
How Can You Check the Fit Before the Final Stitch?
Try the garment on before closing the final seam or finishing every detail, if the construction allows it. Check that the neckline sits flat, passes over the head, and does not pull when you turn or raise your arms. Look at the front and back in a mirror, since an opening can sit differently on each side. Check that it feels easy to put on and take off.
Make any needed changes in small steps. You may need to alter the band length, shoulder seam, or curve rather than cutting a larger opening straight away. Keep notes of the changes that work. They can guide your next project and help you repeat a comfortable fit without starting every adjustment from scratch. A second fitting is useful after making changes.
Conclusion
Choosing a neckline is a small decision that can make a big difference to a handmade T-shirt. Consider your comfort, preferred style, fabric stretch, and sewing ability before settling on a design. Crew necks offer a classic look, while V-necks and scoop necks provide different shapes. A Custom T-Shirt Sewing Pattern gives you room to make these choices and create a shirt that matches your needs. Take time to measure, test, and adjust before sewing your final garment.
Frequently Asked Questions
1. Which neckline is easiest for beginners to sew?
A basic crew neck is a good starting point for beginners. Its rounded shape is simple to mark and finish. A ribbed neckband can create a neat edge without requiring complex sewing methods. Practise attaching the band to spare fabric before working on your finished shirt.
2. Can I change a crew neck into a V-neck?
Yes, you can change a crew neck into a V-neck by adjusting the front neckline. Mark the new depth and shape on the paper pattern. Check both sides for balance before cutting. You may also need to change the finishing method to suit the pointed shape.
3. Which fabric is suitable for handmade T-shirts?
Cotton jersey is a common choice for handmade T-shirts. Cotton blends and other stretch knits can also work well. Check the fabric’s stretch and recovery before sewing. The material should suit the pattern instructions and the neckline finish.
4. How do I stop a T-shirt neckline from stretching?
Use a suitable neckband and avoid pulling the fabric during sewing. Choose a band length that matches the pattern instructions and fabric stretch. A suitable stitch can help the seam move with the material. Press the finished neckline gently rather than stretching it with an iron.
5. Can one sewing pattern offer different neckline styles?
Yes, one basic sewing pattern can be adjusted to create several neckline styles. You can change the front and back curves while keeping the main body shape. However, each change may need a different finishing method. Test major adjustments before using your final fabric.
6. Are digital sewing patterns suitable for beginners?
Yes, many digital patterns are suitable for beginners. They may include printable pattern pieces, size charts, and step-by-step instructions. Check the skill level and file details before choosing one. Understand the printing scale and assembly instructions before cutting fabric.