Water TRANSFER PRINTING
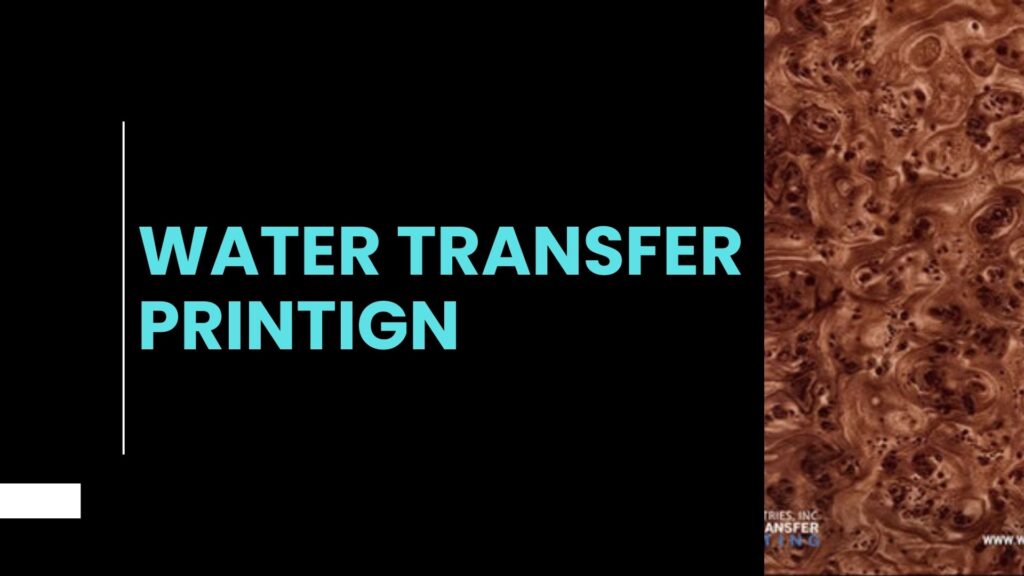
Have you ever looked at a car rim with a carbon fibre design or a tumbler with a weird camo or marble finish and wondered, “How did they do that?” Hydro dipping, sometimes known as water transfer printing, is one of the trendiest and simplest methods to customize practically anything.
Whether you enjoy DIY crafts, customizing vehicle or bike parts, or simply upgrading everyday goods with your own style, hydro dipping is a fun and creative method to do so. This article will review hydro dipping, how it works, what you can dip, and how to get started.
What is Hydro Dipping?
Hydro dipping is a procedure for applying printed graphics to 3D objects. Instead of paintbrushes or stickers, you use a floatable film. You then dip the item into the film, and the design wraps around it seamlessly.
Water transfer printing derives its name from the pattern being transferred onto the item using water. Isn’t that rather smart?
This technique is utilized in various applications, including personalizing automobile parts, designing phone cases, helmets, shoes, and even home goods like bottles or plant pots.
How does hydro dipping work?
Hydro dipping may complicated, but if you understand the process, it is relatively simple. Here’s a breakdown everybody can understand:
1. Prepare the surface.
Begin by cleaning the thing you intend to dip. Remove any dust, oil, or old paint. Some objects may need to be lightly sanded. This helps the paint adhere better.
2. Apply a base coat.
Spray your object with a basic colour. This colour will be visible underneath the dipped design, so choose something that matches or complements your film pattern.
3. Lay the film on the water.
Fill a jar (large enough to hold your object) with warm water. Gently set the hydrographic film on top of the water, printed side up. Let it sit for about 60 seconds to soften.
4. Spray Activator.
Spray a specific activator onto the film. This converts the film into liquid ink, which is ready for transfer.
5. Dip the object.
Now for the fun part: slowly dip your item into the water at an angle. As it moves through the ink, the pattern wraps around the surface.
6. Rinse and dry.
Rinse the item gently to remove excess film. Allow it to dry completely.
7. Seal the design with a clear coat, either glossy or matte, to prevent scratches and fading.
What Can Be Hydro Dipped?
One of the best things about hydro dipping is its versatility. You can dip practically anything that will get wet and hold paint. Common objects include:
Car and motorcycle components (rims, mirrors, and trims)
Helmets and Sports Gear
Gaming Controllers
Water bottles, tumblers, and mugs.
Sneakers and Hats
Phone cases and laptop covers
Guitar bodies or skateboards?
Hydro dipping can make any material stand out, including metal, plastic, glass, and wood.
Popular Hydro Dip Patterns
There are hundreds of designs to pick from. Some of the most popular are:
Carbon fibre – elegant and sophisticated, ideal for car parts.
Camouflage is prevalent on tumblers, helmets, and outdoor clothing.
Wood grain makes plastic look like real wood.
Marble and Abstract Art: Bold and Colorful
Skulls, flames, animal prints, or unique graphics.
You can also print your bespoke designs to create something truly unique.
DIY Hydro Dipping vs. Professional Services
Hydro dipping can be done both at home and by professionals. Let us compare:
DIY Hydro Dipping.
- Affordable kits are accessible online.
- Fun weekend hobby.
- Perfect for learning the basics.
Professional Hydro Dipping
- Improved outcomes for complex or massive goods
- Used for automobile, bike, and company branding.
- It lasts longer with high-quality materials.
- It costs extra, but it saves time and money.
If you’re starting, a DIY hydro dip kit is a terrific place to start (pun intended). However, professionals may be a safer option for expensive or large objects.
Tips for Getting the Best Results
Want a smooth, flawless dip? Keep these suggestions in mind.
- Use warm water (about 80-90°F, or 26-32°C).
- Don’t rush; patience produces better results.
- Use the correct activator spray.
- Dip slowly to prevent air bubbles and smudges.
- Wear gloves and a mask — safety comes first!
Before diving into something valuable, practice a few times with inexpensive goods.
Why is Hydro Dipping so popular?
Hydro dipping is trending on social media and for a good cause. It’s enjoyable to see, simple to execute and allows you to express your individuality. Customization reigns supreme in customization-produce customization goods.
Whether you’re a DIY Lover, or a customer who wants to make your gear looking more eye catchy, hydro dipping is a fun, economical, and creative solution.
Final Thoughts
Hydro dipping transforms everyday stuff into something amazing. With just some water, printed film, and a little effort, you can make magnificent personalized graphics that appear professional.


