Installing artificial grass at home is one of the smartest ways to upgrade your outdoor space. Whether you want a lush backyard, a functional play area, or a low maintenance lawn, artificial turf delivers long lasting beauty with minimal upkeep. This step by step guide walks you through the entire process so you understand what goes into a professional quality installation and why choosing the right materials and method matters.
Artificial grass is no longer just about appearance. It improves usability, saves water, and adds value to residential properties. With proper planning and installation, your turf can look natural and perform well for years.

Step 1 Planning Your Space and Purpose
Before starting the installation, it is important to define how you plan to use the space. Some homeowners want a simple green lawn, while others design functional areas such as Backyard putting Greens for golf practice or entertainment. Understanding the purpose helps determine turf type, base preparation, and drainage needs.
Measure the area carefully and note any slopes, edges, or obstacles. Decide whether the turf will be used for pets, sports, relaxation, or decorative landscaping. Planning ahead ensures the installation process is smooth and prevents costly adjustments later.
Step 2 Removing Existing Grass and Preparing the Base
The next step is removing existing grass, weeds, and debris. This creates a clean foundation for the turf. Excavation depth usually depends on soil conditions and usage but a solid base is essential for long term performance.
After excavation, install a compacted base layer using crushed stone or decomposed granite. This layer provides stability and proper drainage. Compacting the base evenly helps prevent future sinking or uneven surfaces, which is critical for residential artificial turf installations.
Step 3 Installing Edging and Weed Barrier
Edging helps maintain clean lines and keeps the turf securely in place. Use durable materials like plastic or metal edging around the perimeter. This step gives the installation a professional finish and prevents shifting over time.
A weed barrier fabric is placed over the compacted base to block weed growth while still allowing water to drain. This is especially important for homeowners who want a low maintenance lawn without constant upkeep.
Step 4 Preparing Areas Near Water Features and Pools
If your installation is near a swimming pool or water feature, extra care is required. Artificial grass for swimming pools is designed to handle moisture, resist mold, and provide slip resistant surfaces. Proper drainage is critical to prevent water buildup under the turf.
Turf around pool areas enhances safety and comfort while keeping the space clean and visually appealing. Unlike natural grass, artificial turf does not turn muddy or patchy when exposed to water, making it ideal for poolside landscaping.
Step 5 Laying and Cutting the Artificial Turf
Once the base is ready, roll out the artificial turf and allow it to acclimate. This helps the material relax and makes cutting easier. Trim the turf carefully to fit the area, ensuring seams are aligned properly.
For larger spaces, seam tape and adhesive are used to join sections securely. Proper seam alignment is key to achieving a natural looking lawn that blends seamlessly across the entire surface.
Step 6 Securing the Turf and Finalizing Installation
The turf is then secured using landscape nails or staples placed along the edges and seams. This step locks everything in place and prevents movement over time. Artificial lawn installation also includes adding infill material such as silica sand to help blades stand upright and improve durability.
Brushing the turf after infill application enhances the natural look and feel. This final step completes the installation and prepares the surface for everyday use.
Step 7 Maintenance Tips for Long Term Performance
Although artificial turf is low maintenance, a little care goes a long way. Regular brushing keeps fibers upright and removes debris. Occasional rinsing helps maintain cleanliness, especially in pet or pool areas.
Residential artificial turf does not require mowing, watering, or fertilizing, making it a practical solution for busy homeowners. With basic care, your lawn will remain attractive and functional for years.
Why Choose Professional Installation
While DIY installation is possible, professional installation ensures correct base preparation, proper drainage, and long lasting results. Experts understand how to handle slopes, curves, and specialty areas like home putting greens or turf around pools.
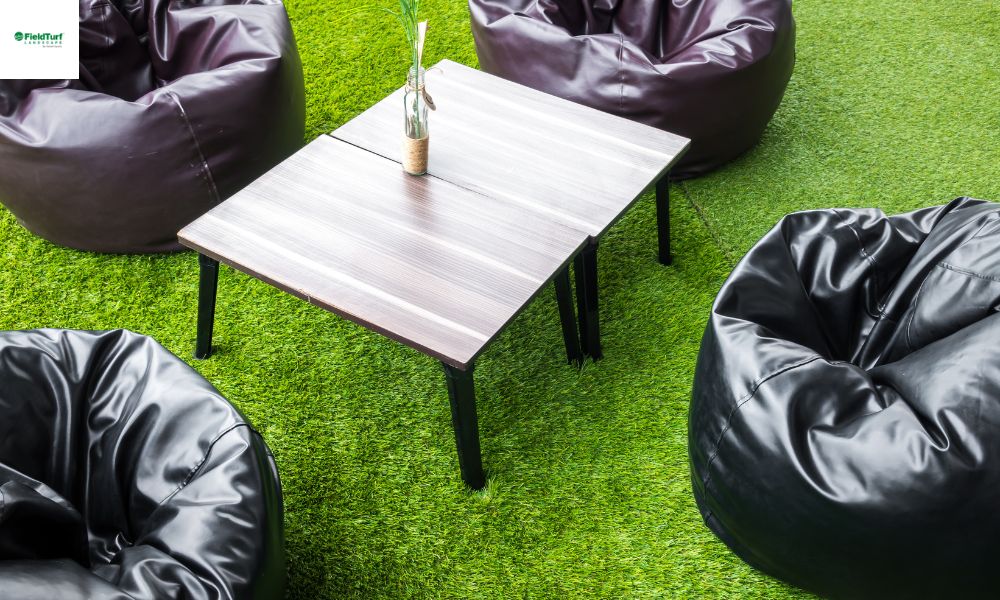
At Field Turf Landscape, we specialize in high quality artificial turf solutions tailored for residential spaces. From backyard lawns to custom putting green installations, our team ensures precision and performance at every step.
If you are planning to install artificial grass at home and want expert guidance, premium materials, and flawless results, visit Field Turf Landscape.
Contact us today for consultations, pricing details, and answers to all your turf related questions.
Frequently Asked Questions
1. How long does artificial grass installation take
Most residential projects can be completed within one to three days depending on size and complexity.
2. Is artificial turf suitable for Backyard putting Greens
Yes. Backyard putting Greens are one of the most popular uses of artificial turf due to its smooth roll and low maintenance.
3. Can artificial grass be installed around swimming pools
Absolutely. Turf around pool areas is designed to drain efficiently and remain safe and comfortable underfoot.
4. What is included in artificial lawn installation
Artificial lawn installation includes site preparation, base installation, turf laying, securing, infill application, and finishing.
5. How long does residential artificial turf last
High quality residential artificial turf can last 10 to 15 years or more with proper care.