You pull onto the job site. The Grove crane refuses to move. An error code stares back from the display. The operator mentions that sensors have been giving strange readings. You understand that electrical failures can stop work completely. Every minute the crane sits idle eats into your bottom line. But rushing through the diagnostic process usually creates more problems than it solves.
Electrical faults in Grove cranes generally break down into three categories: sensors, wiring, and circuits. Learning how to isolate each one saves time and prevents unnecessary parts replacement. This is not about random guessing—it is about systematic troubleshooting.
Begin with Safety and Proper Documentation
Before you touch anything, shut off and lock out the power. Working on crane electrical systems carries real danger. High voltage. Unexpected movement. You need a clean, organized work area.
Then retrieve the service manual. Grove provides detailed wiring diagrams and error code explanations. Never depend on memory alone. The diagrams show wire colors, connector locations, and specific test points. They also list expected voltage ranges. This is your roadmap. Without it, you are stumbling in the dark.
Write down the exact error code. Note the conditions when it appears. Does it only happen when the boom extends? Only when the temperature drops? Intermittent issues are the hardest to catch. Detailed notes help you narrow down the search.
Sensor Troubleshooting: Where to Start
Sensors act as the crane’s nervous system. Angle sensors. Pressure transducers. Load moment indicators. If a sensor fails or transmits bad data, the crane’s computer will limit functions or shut down entirely.
Start with the obvious. Is the sensor physically damaged? Look for cracks, corrosion, or loose mounting brackets. A sensor that shifts when it should remain fixed will always produce false readings.
Next, examine the connection. Unplug the sensor. Inspect the pins carefully. Are they bent? Corroded? Covered in grime? Clean them using electrical contact cleaner. Re-seat the connector firmly. A surprising number of so-called “sensor failures” turn out to be nothing more than poor connections.
If the connection looks good, test the signal. Use a multimeter. Check voltage or resistance against the manual’s specifications. If the reading falls outside the expected range, the sensor is likely bad. But do not replace it yet. Trace the wire back several feet. The real issue might be in the harness, not the sensor head. When you eventually need a new sensor, always use genuine Grove crane parts to ensure proper communication with the crane’s control system.
Wiring Problems: The Invisible Enemy
Wiring on a crane endures brutal conditions. Vibration. Constant flexing. Exposure to rain, oil, heat, and road salt. Over time, insulation cracks. Wires break inside the protective sheath where you cannot see the damage. Connectors vibrate loose.
Visual inspection is your primary tool. Follow the harness from the sensor to the control box. Look for chafing marks. Look for places where the wire rubs against metal edges. Check for pinch points near hinges, cylinders, or moving parts.
If you find damaged insulation, repair it correctly. Use heat-shrink tubing with an adhesive inner lining. Do not simply wrap it with electrical tape. Tape slips over time. It traps moisture. It fails under high temperatures.
If the wire appears intact but the signal is still bad, run a continuity test. Disconnect both ends of the wire. Use your multimeter to check for a complete electrical path. No continuity means the wire is broken internally. Replace the entire section. Never splice in the middle of a harness that constantly flexes—that splice will become tomorrow’s failure point.
Also test for shorts. Measure between the signal wire and ground. If you get continuity where there should be none, you have a short circuit. This condition can destroy expensive control modules instantly. Find the pinch point or abrasion and fix it before reapplying power. A reliable crane parts supplier can help you source pre-made harness sections or the correct gauge wire and connectors for a lasting repair.
Circuit-Level Diagnostics
Sometimes the sensor tests fine and the wiring checks out perfectly. The problem then lives in the circuit itself. That could be a blown fuse, a defective relay, or a failing control module.
Start at the power source. Check the fuse for the affected circuit. Use your multimeter to verify voltage on the input side of the fuse. No power? Work backward toward the battery. Inspect battery terminals and main disconnect switches. Corrosion on a terminal can drop voltage just enough to cause intermittent faults.
If the fuse has power on the input side, check the output side. No power on the output means the fuse is blown. Replace it with the correct amperage. Never use a higher-rated fuse. If a new fuse blows immediately, you have a short circuit downstream. Find it before trying another fuse.
Relays are frequent failure points. They click when they engage. Listen for that click when the circuit should activate. No click? Swap the relay with a known good one of the same type. If the circuit starts working, simply replace the relay. When ordering new relays or other electrical components, ask your crane parts supplier to verify compatibility with your specific crane model. A knowledgeable crane parts supplier will cross-reference Grove crane parts numbers to ensure you get the exact match.
Control modules are more complex. They rarely fail without an external cause. Often, a bad sensor or a shorted wire damages the module. If you suspect the module, verify all its inputs first. Check power and ground at the module connector. If inputs are good but outputs are missing or incorrect, the module probably needs replacement.
Sourcing Quality Components and Testing Your Repair
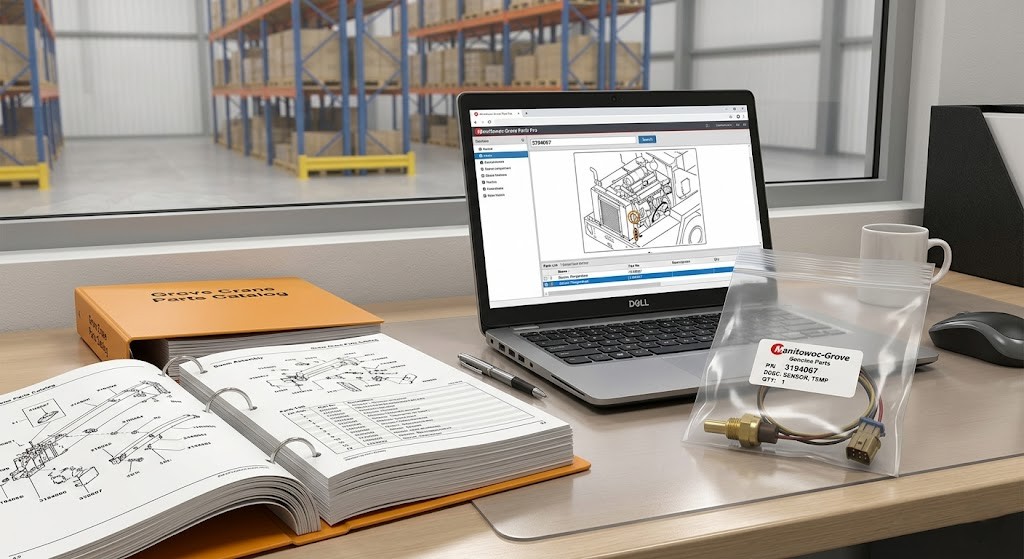
When you confirm a part is bad, you need a replacement. Do not guess on part numbers. Grove crane parts have specific revisions. A sensor from an older model may not communicate correctly with a newer control system.
Use your crane’s serial number. Look up the exact part in the Grove parts catalog. Write down the full part number, including any suffix letters. This is where a trustworthy crane parts supplier proves invaluable. A good supplier will verify the part number against your crane model, check stock and lead time, and suggest compatible alternatives if the exact part is backordered.
After installing any new component, do not just power up and hope. Test methodically. Re-check all your connections. Verify that every connector is fully locked. Ensure wiring is routed away from moving parts and sharp edges. Power up the system. Clear any stored error codes. Operate the crane through its functions slowly. Watch the display. Listen for unusual sounds. If the fault returns, note the exact conditions—that information will guide your next step.
For intermittent issues, you may need to monitor the circuit while the crane works under actual load. Use a data logger or a multimeter with a min/max recording function. This can catch voltage drops or signal spikes that only happen during operation.
Prevention and Final Thoughts
Troubleshooting fixes today’s problem. Prevention reduces tomorrow’s. Inspect wiring harnesses during regular maintenance intervals. Look for early signs of wear—slightly cracked insulation, loose clips, or beginning corrosion. Re-secure any loose harness clips. Replace cracked conduit before it exposes bare wires. Keep connectors clean and sealed. Use dielectric grease on every electrical connection to prevent corrosion, especially in humid or coastal environments.
Train operators to report small electrical quirks early. A flickering display or a sensor that drifts in cold weather is a warning. Addressing it during scheduled maintenance is far cheaper than an emergency repair on a job site.
Electrical troubleshooting on Grove cranes is not magic—it is a repeatable process. Start with safety. Use the manual. Isolate the problem to sensor, wiring, or circuit. Test before you replace. And when you need components, source Grove crane parts from a dependable crane parts supplier to ensure compatibility and long-term reliability.
Rushing leads to misdiagnosis. Misdiagnosis wastes time and money. Take the extra hour to trace the wire, verify the signal, and check the fuse. It always pays off. Your goal is not just to get the crane running again. It is to fix it right so it stays fixed. That keeps the job moving, keeps the crew safe, and that is what good maintenance is all about.